
Here are the answers to the “Improve Your Learning” section from the lesson :”This is the Way” (Class 3 EVS):
APSCERT | ANDHRA PRADESH
I. Conceptual Understanding
1. Name the four directions.
• East
• West
• North
• South
2. What do you see in the four directions of your school?
| Direction | What You See |
|---|---|
| In the East | Playground |
| In the West | Temple |
| In the North | Road |
| In the South | Shops |
3. What helps us to locate an address in our village or a city?
• Landmarks like schools, hospitals, temples, and post offices help in locating an address.
• Maps and GPS are also useful for finding locations.
II. Questioning
4. What questions would you ask your teacher to draw the map of your village by using symbols?
• What symbols should we use for roads, schools, and parks?
• How do we show rivers or lakes on the map?
• Can we mark important places like the post office and police station?
• How do we indicate the four directions on the map?
III. Experiments and Field Observations
5. Name some landmarks of your village and write to which side they are to your school.
| Landmark | Direction from School |
|---|---|
| Temple | East |
| Bus Stop | West |
| Hospital | North |
| Market | South |
IV. Information Skills – Project Work
6. Visit a nearby house and fill in the table given below with the observations.
| Observation | House 1 | House 2 | House 3 |
|---|---|---|---|
| Main door direction | East | North | West |
| Tap / Borewell / Well direction | South | East | West |
| Open field space direction | North | West | South |
| Road direction | West | South | East |
V. Drawing Pictures and Model Making
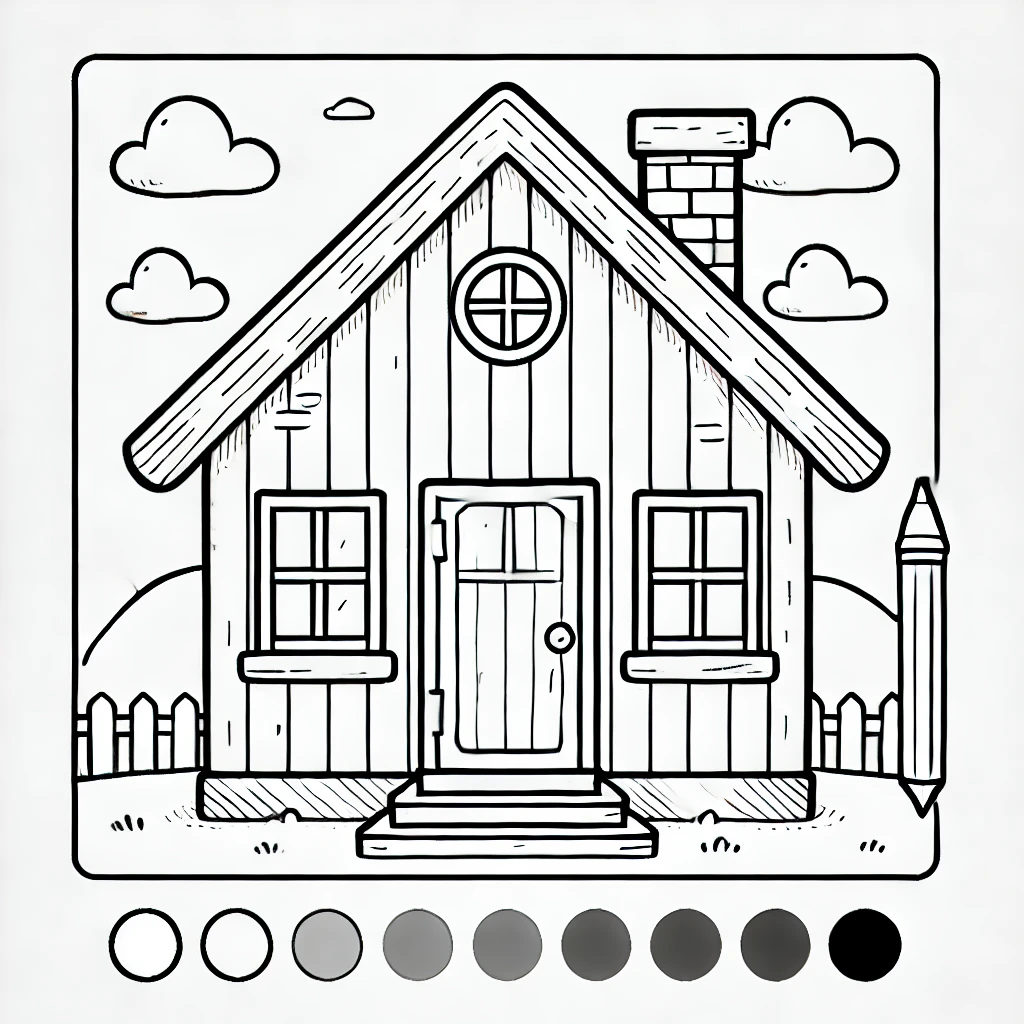
7. Draw your house. Then colour the North in red, South in blue, East in orange, and West in green.
8. Draw your school. Draw the school building and the main rooms in it.

VI. Appreciation
9. Have you ever helped someone by giving them the right directions to reach their destination? How did you feel?
• Yes, I once helped a visitor find their way to the hospital in my village.
• I felt happy and proud that I could assist someone.
10. How do you feel when you watch the sunrise or sunset?
• The sunrise makes me feel fresh and energetic.
• The sunset looks beautiful and makes me feel peaceful.
Here is a perfect, period-wise lesson plan for “This is the Way,” designed from the perspective of an experienced, professional teacher. It emphasizes engagement, deeper understanding, and practical application, structured period-wise, without any reference links.
Lesson Plan: This is the Way (Understanding Directions and Maps)
Subject: Environmental Studies (EVS) / Social Studies
Grade Level: Class III
Topic: Directions, Landmarks, Symbols, and Basic Map Skills
Total Duration: 3 Periods (Each period approximately 40-45 minutes)
I. Overarching Learning Goals
By the end of this lesson, students will not only be able to identify and use directions but will also understand how landmarks and symbols help us navigate and interpret simple maps. They will develop a foundational spatial awareness crucial for understanding their surroundings and the world.
II. Essential Questions
- How do we find our way from one place to another?
- What helps us give clear directions to others?
- How can we represent places on paper?
- What natural clues help us find directions?
III. Materials
- Textbook/Lesson content: “This is the Way” (for Harsha’s story, pictures of directions, landmarks, symbols, maps)
- Whiteboard/Blackboard, markers/chalk
- Pictures/flashcards: buildings (school, hospital, post office), trees, bus stop sign, map symbols (e.g., temple, well, road).
- Optional: Compass (simple demonstration), a large sheet of chart paper for a simple classroom/village map, crayons/color pencils.
Period 1: Finding Our Way – Sides and Directions
Learning Objectives:
- Understand the concepts of left, right, front, and back.
- Identify basic directions (East, West, North, South) using the sun.
- Relate directions to their own body and surroundings.
Lesson Procedure:
- Engage (10 minutes): The Lost Traveler
- Begin by telling a short, relatable story about someone (like Harsha) trying to find a new place. “Imagine you are going to a friend’s house for the first time. How do you know which way to go?”
- Introduce Harsha’s story from the textbook, where he’s trying to find his uncle’s house. Discuss his questions: “Shall I go right or left?”
- Ask: “Why is it important to know directions?”
- Explore (15 minutes): My Body, My Directions
- Left, Right, Front, Back:
- Lead a physical activity: “Raise your right hand! Now your left!” “Point to your front! Now your back!”
- Ask students to identify objects in the classroom: “What is to your right? To your left? In front of you? Behind you?”
- Using the Sun for Directions:
- Guide students to understand that the sun rises in the East and sets in the West.
- Activity: Ask students to face the rising sun (East). Explain that if East is in front, West is behind. Their right hand points South, and their left hand points North. Practice this within the classroom.
- Discuss: “Why are these directions important for traveling?”
- Left, Right, Front, Back:
- Explain (15 minutes): The Four Main Directions
- Draw a simple compass rose on the board (N, S, E, W).
- Reinforce the concept of the four main directions: East (where the sun rises), West (where the sun sets), North, and South.
- Discuss: “Why do we call these ‘main’ directions?” (They are fixed and always the same).
- Have students practice identifying directions within the classroom relative to a known point (e.g., the door, the window).
Homework: Ask students to identify the direction of their home, school, and a nearby park from their current location using the sun.
Period 2: Guiding Marks – Landmarks and Symbols
Learning Objectives:
- Identify common landmarks in their surroundings.
- Understand how landmarks help in giving directions.
- Recognize basic symbols used to represent places on maps.
- Appreciate the simplicity and universality of map symbols.
Lesson Procedure:
- Engage (10 minutes): The “Meet Me At…” Game
- Ask students: “If you tell a friend to meet you, what big, easy-to-see things do you mention so they don’t get lost?” (Lead to “landmarks”).
- Introduce the concept of a landmark: “A known place or structure that helps us locate other places.” Examples: a big tree, a temple, a shop, a school.
- Explore (20 minutes): Our Village/Neighborhood Landmarks
- Identifying Local Landmarks:
- Show pictures of common landmarks (school building, hospital, bus stop, temple, well).
- Ask students to name some landmarks in their village/neighborhood.
- Activity: On a large chart paper, draw a very simple outline of their school building. Then, ask students to name landmarks near the school (e.g., a specific tree, a shop, a post office) and indicate their relative position to the school (right, left, front, back).
- Introducing Symbols:
- Explain that on maps, we can’t draw every building perfectly. So, we use symbols – small pictures that stand for real things.
- Show common map symbols (e.g., a cross for a hospital, a simple rectangle for a house, a tree for a forest).
- Discuss: “Why do we use symbols on maps?” (To make maps clear, easy to read, save space).
- Identifying Local Landmarks:
- Explain (10 minutes): The Language of Maps
- Practice matching simple symbols to what they represent.
- Discuss how landmarks and symbols work together to help us understand where things are, even in places we haven’t visited.
- Emphasize that symbols are a “secret language” of map-makers that everyone can understand.
Homework: Ask students to draw a simple map of their bedroom, using symbols for their bed, table, cupboard, etc.
Period 3: Picturing the World – Maps and Celestial Clues
Learning Objectives:
- Understand what a map is and its purpose.
- Differentiate between pictures and maps.
- Reinforce the use of the sun, moon, and stars as celestial bodies for direction.
- Synthesize learning from the entire lesson.
Lesson Procedure:
- Engage (10 minutes): Picture vs. Map
- Show a detailed photograph of a house and a simple drawing/map-like representation of the same house.
- Ask: “Which one looks exactly like the house? Which one gives us a simpler idea of where things are?”
- Introduce the concept of a map: “A map is a drawing of a place as seen from above.” Explain that it uses symbols and helps us find places.
- Explore (20 minutes): Reading Our World
- Map Reading Basics:
- Discuss that maps show us places like villages, towns, and countries.
- Emphasize the importance of directions on a map (North is usually at the top).
- Activity: Simple Classroom Map. On a large sheet, draw a simple outline of the classroom. Ask students to place symbols for their desk, the teacher’s table, the door, and windows.
- Celestial Bodies as Guides:
- Revisit the sun for directions (East-West).
- Introduce the moon and stars (like the Pole Star in the Northern Hemisphere) as guides for travelers at night, explaining they also help determine directions.
- Discuss: “Why are these natural guides important?” (When there are no roads or signs).
- Map Reading Basics:
- Explain & Evaluate (15 minutes): Mastering Navigation
- “Improve Your Learning” Discussion: Facilitate a class discussion using questions from the “Conceptual Understanding,” “Questioning,” and “Appreciation” sections. Encourage students to share their thoughts and answers.
- Synthesis: Review the entire lesson, emphasizing:
- The importance of knowing directions (left, right, front, back, N, S, E, W).
- How landmarks help in navigation.
- The use of symbols to create clear maps.
- The role of celestial bodies in finding directions.
- Project Work Discussion: Introduce the weekly project work, ensuring students understand the tasks.
Project Work (Assigned for the week):
- Map Drawing: Draw the picture of their house. Color the South side in yellow, East in red, North in green, and West in blue.
- Map Drawing: Draw the picture of their school. Draw the main gates on it.
- Observation & Mapping: Name some landmarks of their village and indicate their direction relative to their school.
- Information Skills: Visit a nearby house and fill in a table with observations (e.g., number of rooms, direction of main door).
- Questioning: What questions would you ask your teacher to draw the map of your village using symbols?
IV. Differentiated Instruction (Ongoing Throughout All Periods):
- For Developing Learners: Provide simplified language and instructions, use concrete examples, offer pre-drawn outlines for mapping activities, and pair them with a supportive peer. Focus on mastering basic directions and identifying a few key landmarks.
- For Proficient Learners: Encourage them to draw a more detailed map of their home/neighborhood, research different types of maps (e.g., globe, atlas), investigate how ancient travelers navigated, or create a simple treasure hunt using directions and landmarks.
V. Assessment Strategies (Ongoing Throughout All Periods):
- Formative Assessment:
- Observation: Monitor active participation in directional games, ability to identify landmarks, and engagement during map-drawing activities.
- Questioning: Use open-ended questions (“If you wanted to tell someone how to get to the library from here, what directions would you give?”).
- Informal Checks: Quick checks for understanding (e.g., “Show me North with your hand”).
- Summative Assessment:
- Evaluation of completed Project Work (e.g., house map, school map, landmark observation).
- Written responses to “Improve Your Learning” questions.
- Ability to orally give directions using landmarks and basic cardinal points.
VI. Teacher’s Reflection
- Were students able to grasp the abstract concept of directions and apply it practically?
- How effective were the hands-on mapping activities? Did they clarify the purpose of symbols?
- Did students show enthusiasm for exploring their surroundings with a “directional” mindset?
- What adjustments might enhance the understanding of celestial bodies for direction?
- Were the learning outcomes achieved for the majority of the class, and how can I support those who need further reinforcement?